Writing Documentation
To ensure a consistent and professional structure across our documentation, please follow the best practices outlined below.
1. Add a Sidebar Label
Always include a descriptive sidebar label at the top of your .mdx file to define how the page should appear in the navigation:
---
sidebar_label: Login
---
This label should be human-readable and reflect the actual topic (e.g., "Application Form", not just "Form").
2. Name Files to Match the Sidebar Label
The file name must be the kebab-case version of the sidebar_label. This ensures the generated URL matches the page title displayed in the sidebar.
sidebar_label | File name |
|---|---|
Client Development | client-development.mdx |
API Testing with Postman | api-testing-with-postman.mdx |
Database & Performance | database-and-performance.mdx |
Do not use slug in frontmatter to fix a mismatch — rename the file instead. This keeps a single source of truth for the URL.
3. Add Your File to the Sidebar
Make sure to correctly register your .mdx file in the corresponding sidebar-*.ts. The order and location where you register your file will determine its position and grouping in the documentation sidebar.
Example:
'applicants/login',
If added under the Applicants category, it will appear in the sidebar under the Applicants section:
{
  type: 'category',
  label: 'Applicants',
  items: [
    'applicants/account-creation',
    'applicants/login', // <-- Here
    ...
  ],
},
The folder structure and sidebar organization should stay in sync for clarity.
4. Use the Image Component
Use the custom <Image> component instead of plain HTML <img> tags. This ensures consistent styling across the site. Specify the image size using the ImageSize enum:
import Image, {ImageSize} from "../../src/components/Image/Image";
import loginForm from '../images/login/login-form.png';

<Image src={loginForm} alt="Login form" size={ImageSize.large} />
Available sizes:
| Size | Max Width |
|---|---|
ImageSize.small | 300px |
ImageSize.medium | 600px |
ImageSize.large | 100% |
5. Embed Videos with the VideoEmbed Component
For screen recordings and other embedded videos, use the custom <VideoEmbed> component instead of writing an <iframe> by hand. The component renders a responsive iframe (capped at 900px wide, with a 900/520 aspect ratio) inside a semantically correct <figure> / <figcaption> so the video scales gracefully on narrow viewports.
import VideoEmbed from "../../src/components/VideoEmbed/VideoEmbed";

<VideoEmbed
  src="https://live.rbg.tum.de/w/artemisintro/74607?video_only=1&t=0"
  title="Applying for a position in TUMApply"
  caption="Complete application flow from creating an application to submission"
/>
Props:
| Prop | Required | Notes |
|---|---|---|
src | Yes | Embed URL. For live.rbg.tum.de videos, append ?video_only=1&t=0 to hide page chrome. |
title | Yes | Accessible title for the iframe. |
caption | No | Rendered as <figcaption> below the video. |
6. Place Images in Subdirectories
Organize your images by placing them in subfolders named after the .mdx file they relate to. This makes image management easier and keeps our structure maintainable.
Example structure:
docs/
└── professors/
    ├── application-review.mdx
    ├── login.mdx
    └── images/
        ├── login/
        │   └── login-view.png
        └── application-review/
            └── rating-section.png
This also helps when reviewing image usage or updating assets, since all related visuals are grouped with their corresponding documentation topic.
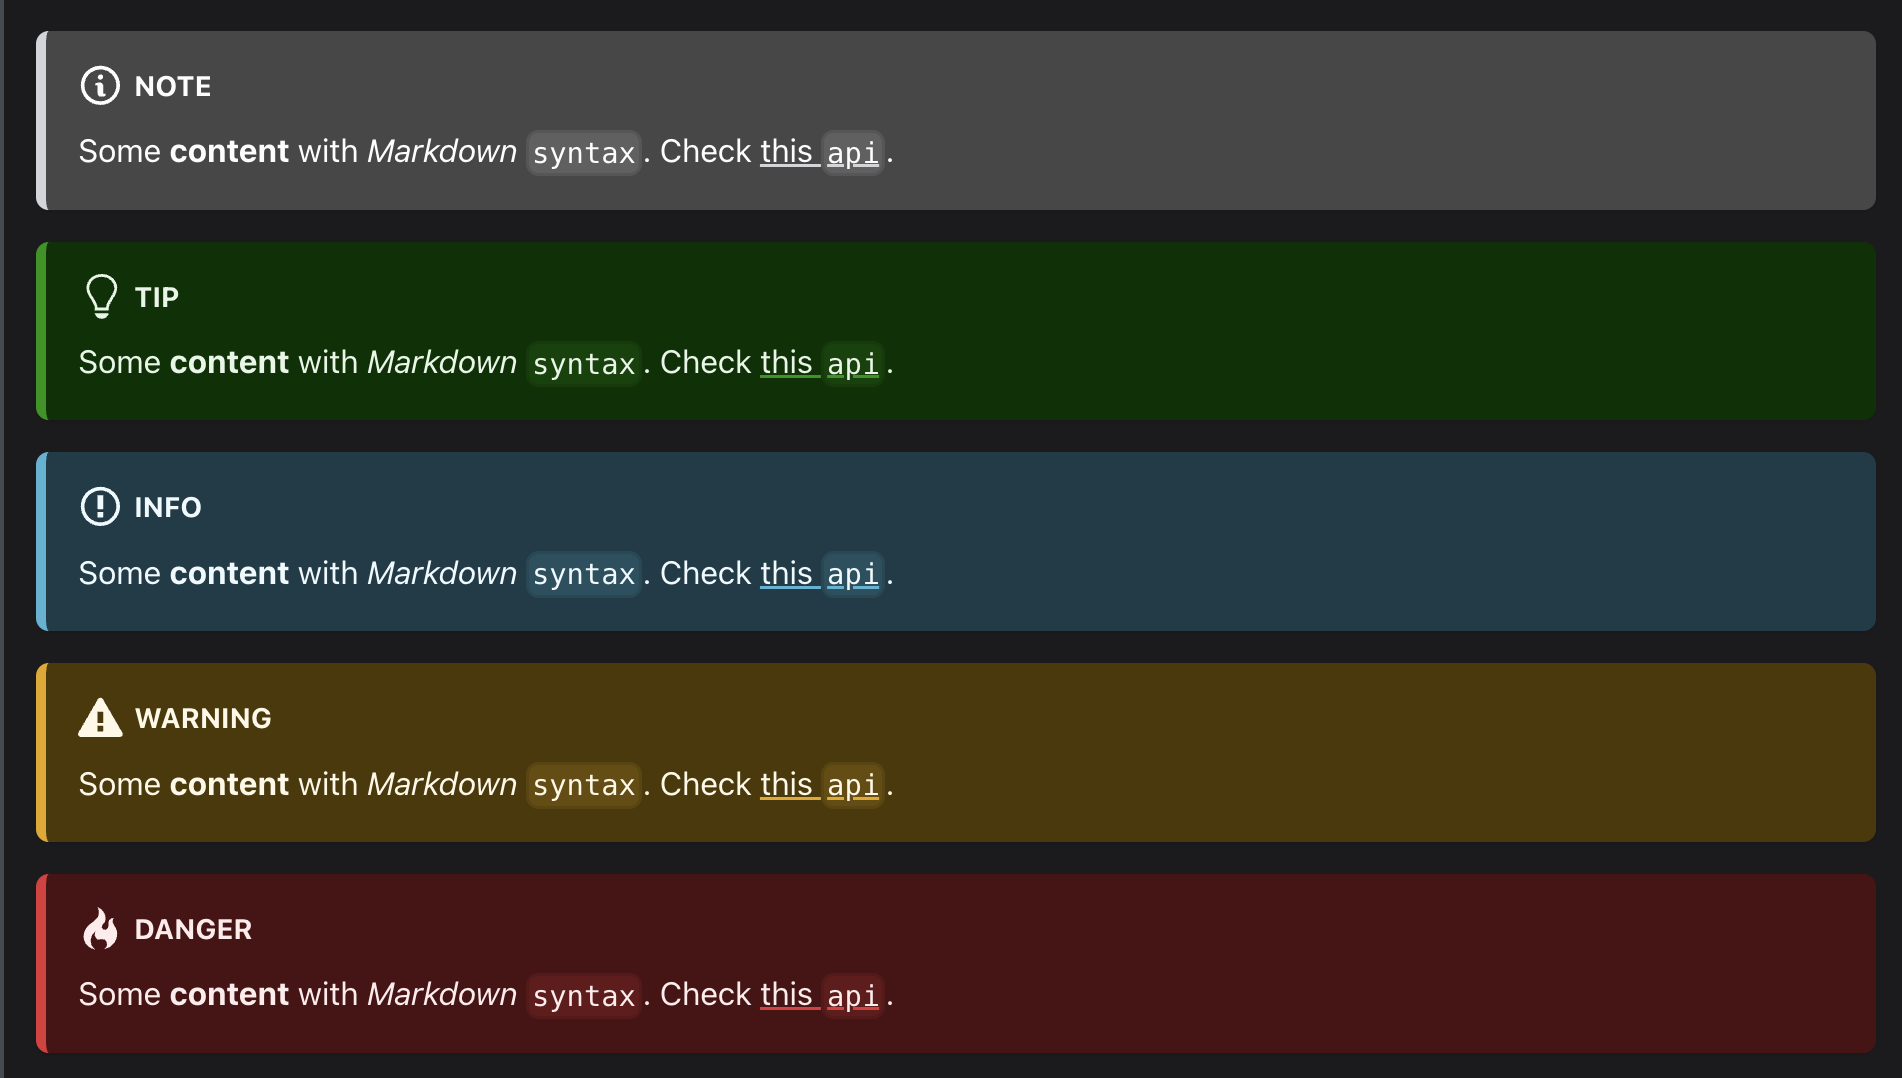
7. Use Standardized Admonitions
When adding visual notes, do not use custom-styled or non-standard labels. Instead, use the built-in Docusaurus Admonitions such as note, tip, info, warning, or danger.
Correct usage:
:::note
This is a note admonition.
:::

:::tip
This is a tip admonition.
:::

:::info
This is an info admonition.
:::

:::warning
This is a warning admonition.
:::

:::danger
This is a danger admonition.
:::
This is how they look when rendered:
You can also add a custom title:
:::tip[Best Practice]
Keep your browser window wide enough to show details, documents, and the rating panel
side by side — this reduces scrolling and speeds up your review workflow.
:::
Following these guidelines will help keep our documentation clear, consistent, and easy to maintain.